Valentine’s Day with Your Little One
Nothing melts your heart like having a little toddler run up to you, throw their arms around you and squeeze you with all their might as they say, “I love you, mommy!”
Toddlers are so full of love, aren’t they? With Valentine’s Day right around the corner, I decided to focus this week’s art class on “4 Ways to Show Love.”
Why These Activities?
Coming up with fun, safe art projects to do with my 2-year old inspired me to start teaching an art class for toddlers (ages 2-5). My goal for art class is always to help kids develop their critical thinking and problem-solving skills, along with fine motor skills and creativity. I want kids and parents to see that the learning doesn’t have to end when our class ends—it can actually continue outside of class and through life beyond class. Instead of just keeping kids busy making cute crafts, I introduce the purpose of why we are making what we’re making and let them explore and experience the process of creating.
In my class, we do four different activities in one hour. This month, it was a Valentine’s Day theme of “love”. As I thought through what four activities we could do, I wanted to be sure that I wasn’t planning just to fill time with activities but there was a meaning to creating and something that they can relate/connect to their everyday life. Sure, it is fun to cut out heart shapes and make/write cards to give to people, but what is new and exciting about that? In fact, the kids are so little that the parents would probably end up cutting and writing the cards for them. Then, what would be the point of having the art class at all? So I decided to have the kids do activities “showing love” and make the art-making the process and not the end goal, which actually encourages creativity.
So how can you show love?
Ask your little ones and see what they say. If you wait and listen, their answers might surprise you.
(For older kids, you can ask “What are different ways you can show love?” and brainstorm together and do these activities. Or you can have them come up with their own project to create art that fulfills its purpose.)
Some answers might include: give kisses, give hugs, say “I love you,” write letters/cards, do something nice for them, tell them what you like about them, make something for them, do something they like with them… and I’m sure there will be many more.
Those answers became our goals. I picked out four things: showing love through words, through hugs, through making memories and through sharing.
Here’s what we did (and what you’ll need!):
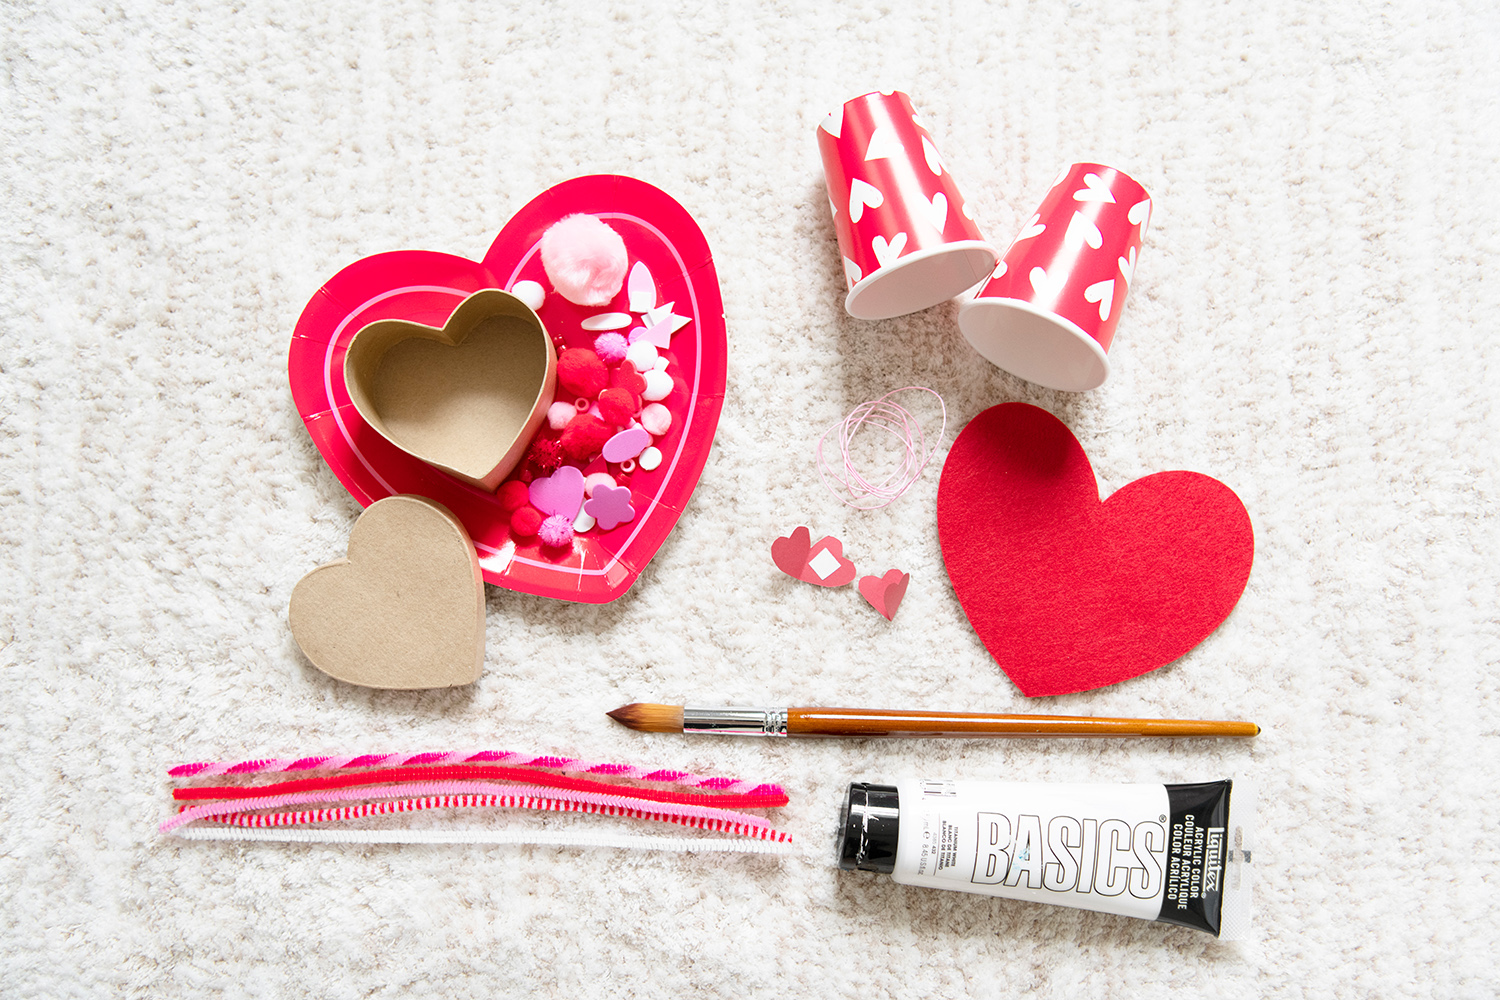
Materials
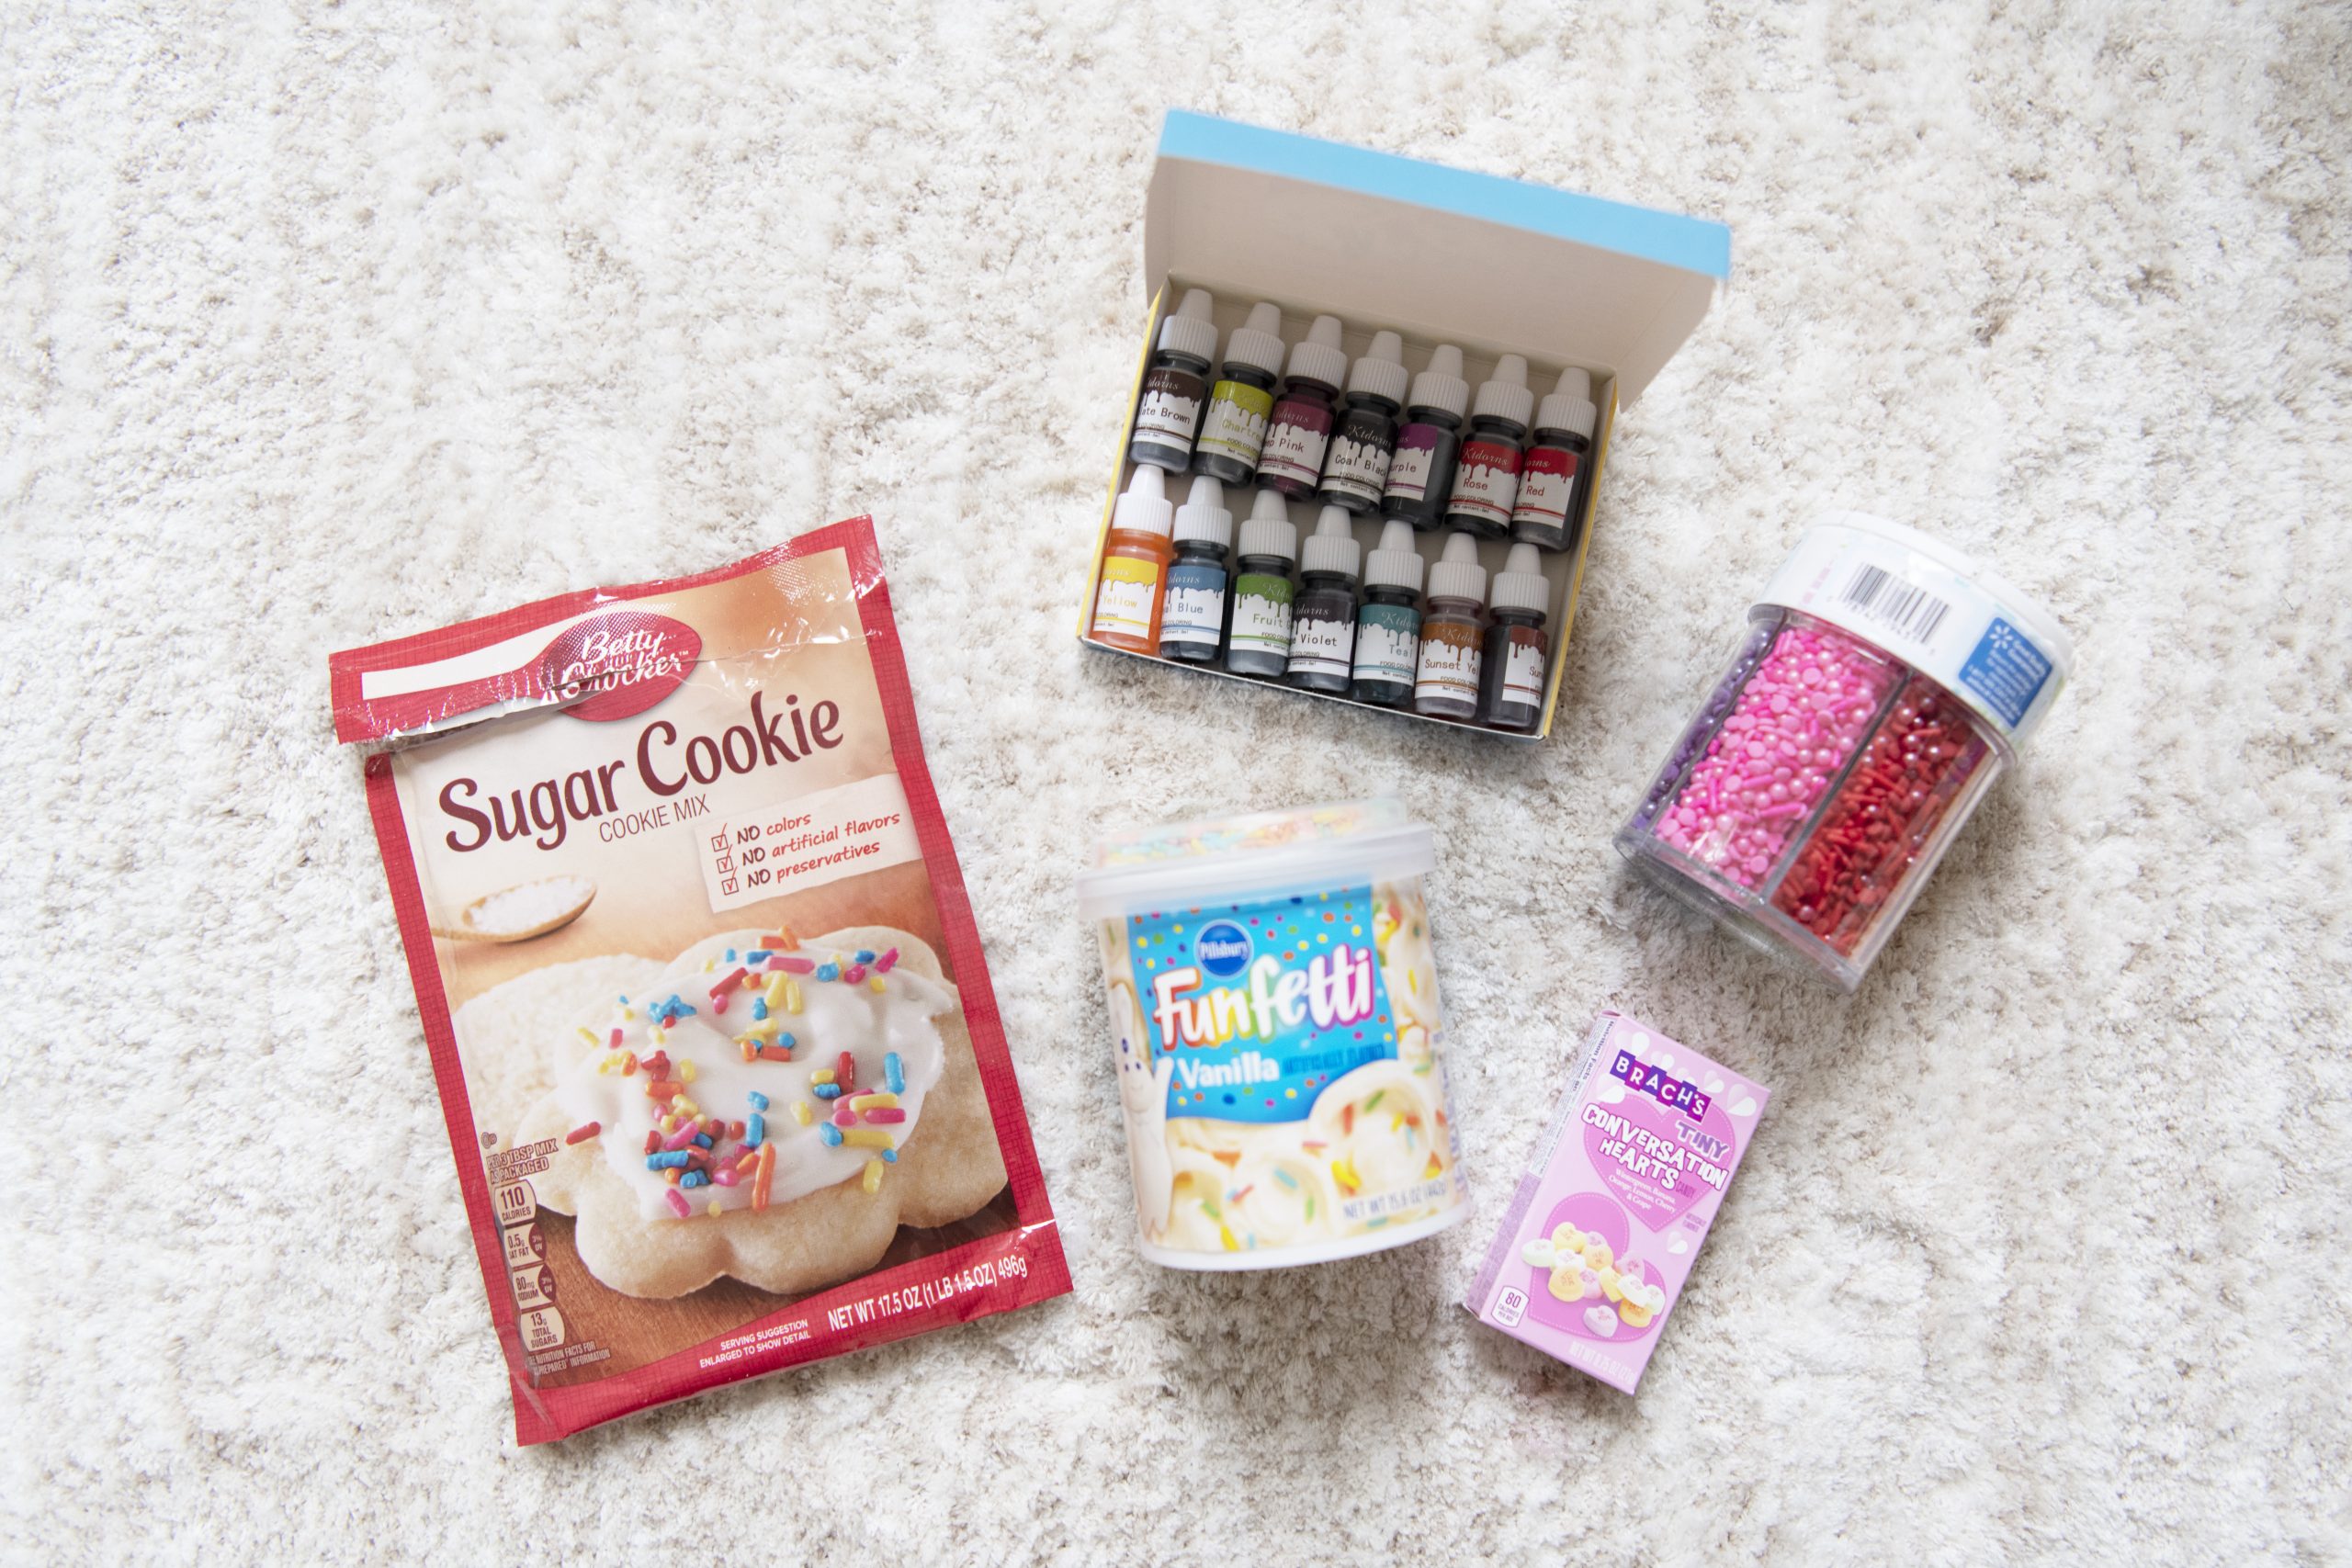
Activities
Through Words: Paper Cup Telephone

What You’ll Need:
-
-
Paper Cups (Valentine Themed, if possible
)
-
Hemp Cord
(Pink is fun for Valentine’s Day)
-
[Optional] Red Paper
(for hearts)
-
Now, Let’s Make It!
-
-
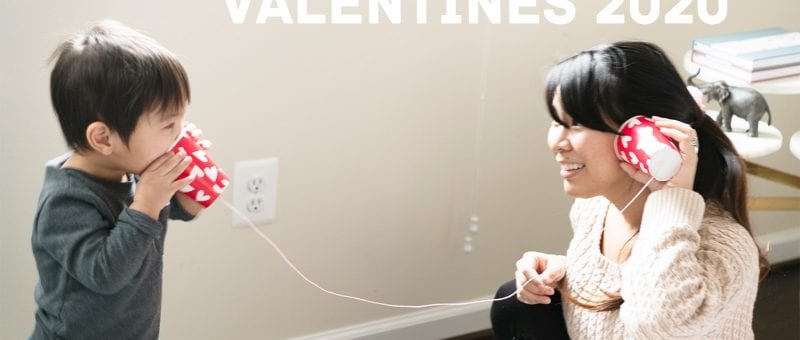
Step 1: Give your little one two valentine paper cups with small holes poked through the bottoms of the cups (I made holes with a pen) and a waxed cotton cord (waxed cords are thicker and stronger so its easier for your little one to push through the holes).
-
Step 2: Have them push one end through the hole and help tie the knot. Do the same on the other end.
-
Step 3: You can end here, but to make it more fun, I cut out heart shaped paper and had the kids attach those hearts where the knots are. That way, when you look inside the paper cups, you see the little hearts and feel a little extra love!
-
Step 4: Show them how to put the cup to their mouth when they talk and how to put the cup over their ear to listen.
-


The paper cup telephone makes telling each other “I love you” not only fun, but helps your little one be aware of what part of their body they are using to speak and what they use to listen. They become more aware of their senses and what things they can use to communicate in a fun way!
For older kids, you can have them decorate the paper cups, make holes, tie the knot and finish the whole thing.
Through Hugs: Hand-print Heart

What You’ll Need:
-
-
Pre-cut hearts
(you can cut hearts out of paper as well)
-
A pair of precious little hands!
-
Now, Let’s Make It!
-
-
Step 1: Have your child give you a hug and give them big hug back!
-
Step 2: Talk with them about what they used to give hugs—their hands!
-
Step 3: Give them a big heart-shaped paper or piece of felt. Show them where their hands will go.
-
Step 4: Help paint their hands and have them press their hands onto the heart.
-


This is a symbol of how we show love. We make hearts with our hands and give hugs using our hands and arms. If you are looking for a way to send hugs to someone far away, this is a perfect way to do that!
For older kids, you can have them cut out the heart shape, or even have them come up with an artwork that shows how we use hands to show love.
Through Making Memories: Heart-shaped Box
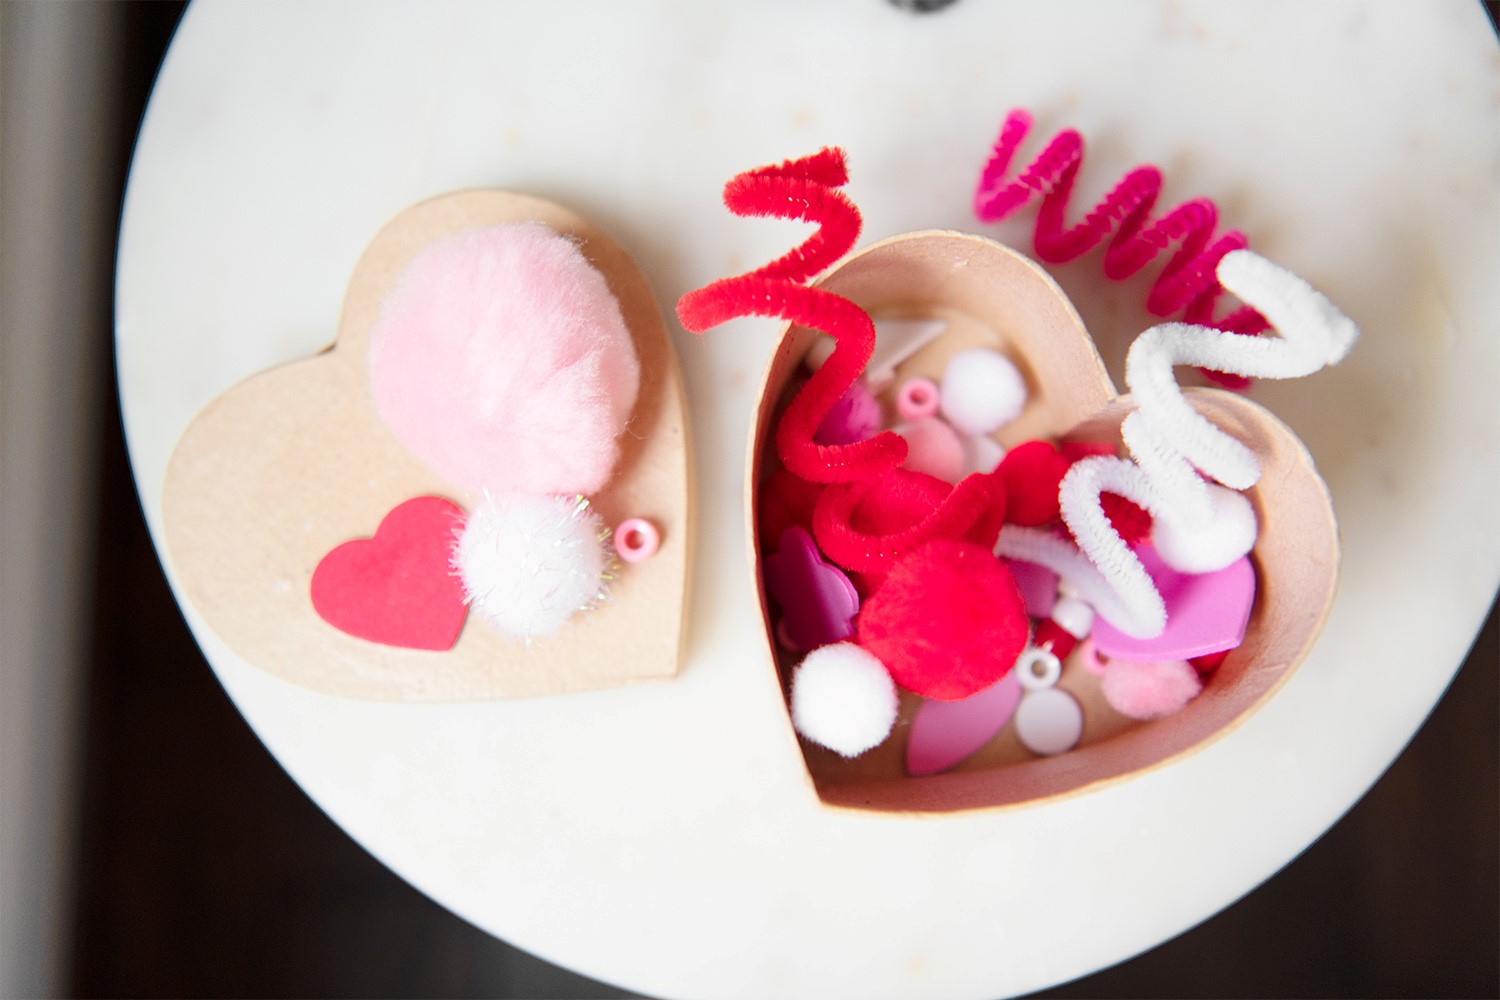
What You’ll Need:
-
- A heart-shaped box
- Glue
- Paint brush
- Pipe cleaners and pompoms
- Beads
, cut-outs
or anything fun representing memories to put in your box
- A heart-shaped box
Now, Let’s Make It!
-
- Step 1: Give your little one a heart-shaped box and some things to decorate it with.
- Step 2: Have them glue decorations on the box, put things inside, and color them, if you want.
- Step 3: Have them hold one end of the pipe cleaner while you hold the other end on a paintbrush. Have them wrap the pipe cleaner around the brush.
- Step 4: Have them push the pipe cleaner towards you and let it slide off. Now, you have a cute curly pipe cleaner! Kids in my class actually loved this part the most.

Did you ever like collecting knickknacks and carefully keeping them in a special box?! Well, here it is! Memories are what we hold close in our hearts and as you are decorating the box with your child and talking about what you/they want to put inside, you’ll have a chance to remember sweet memories and share why you love each other. This becomes not just an act of collecting memories, but a chance to create new memories together.
For older kids, ask what memories they have with their loved ones. Put photos or add/make something that reminds them. Decorate the box.
Through Sharing: Valentine Cookies
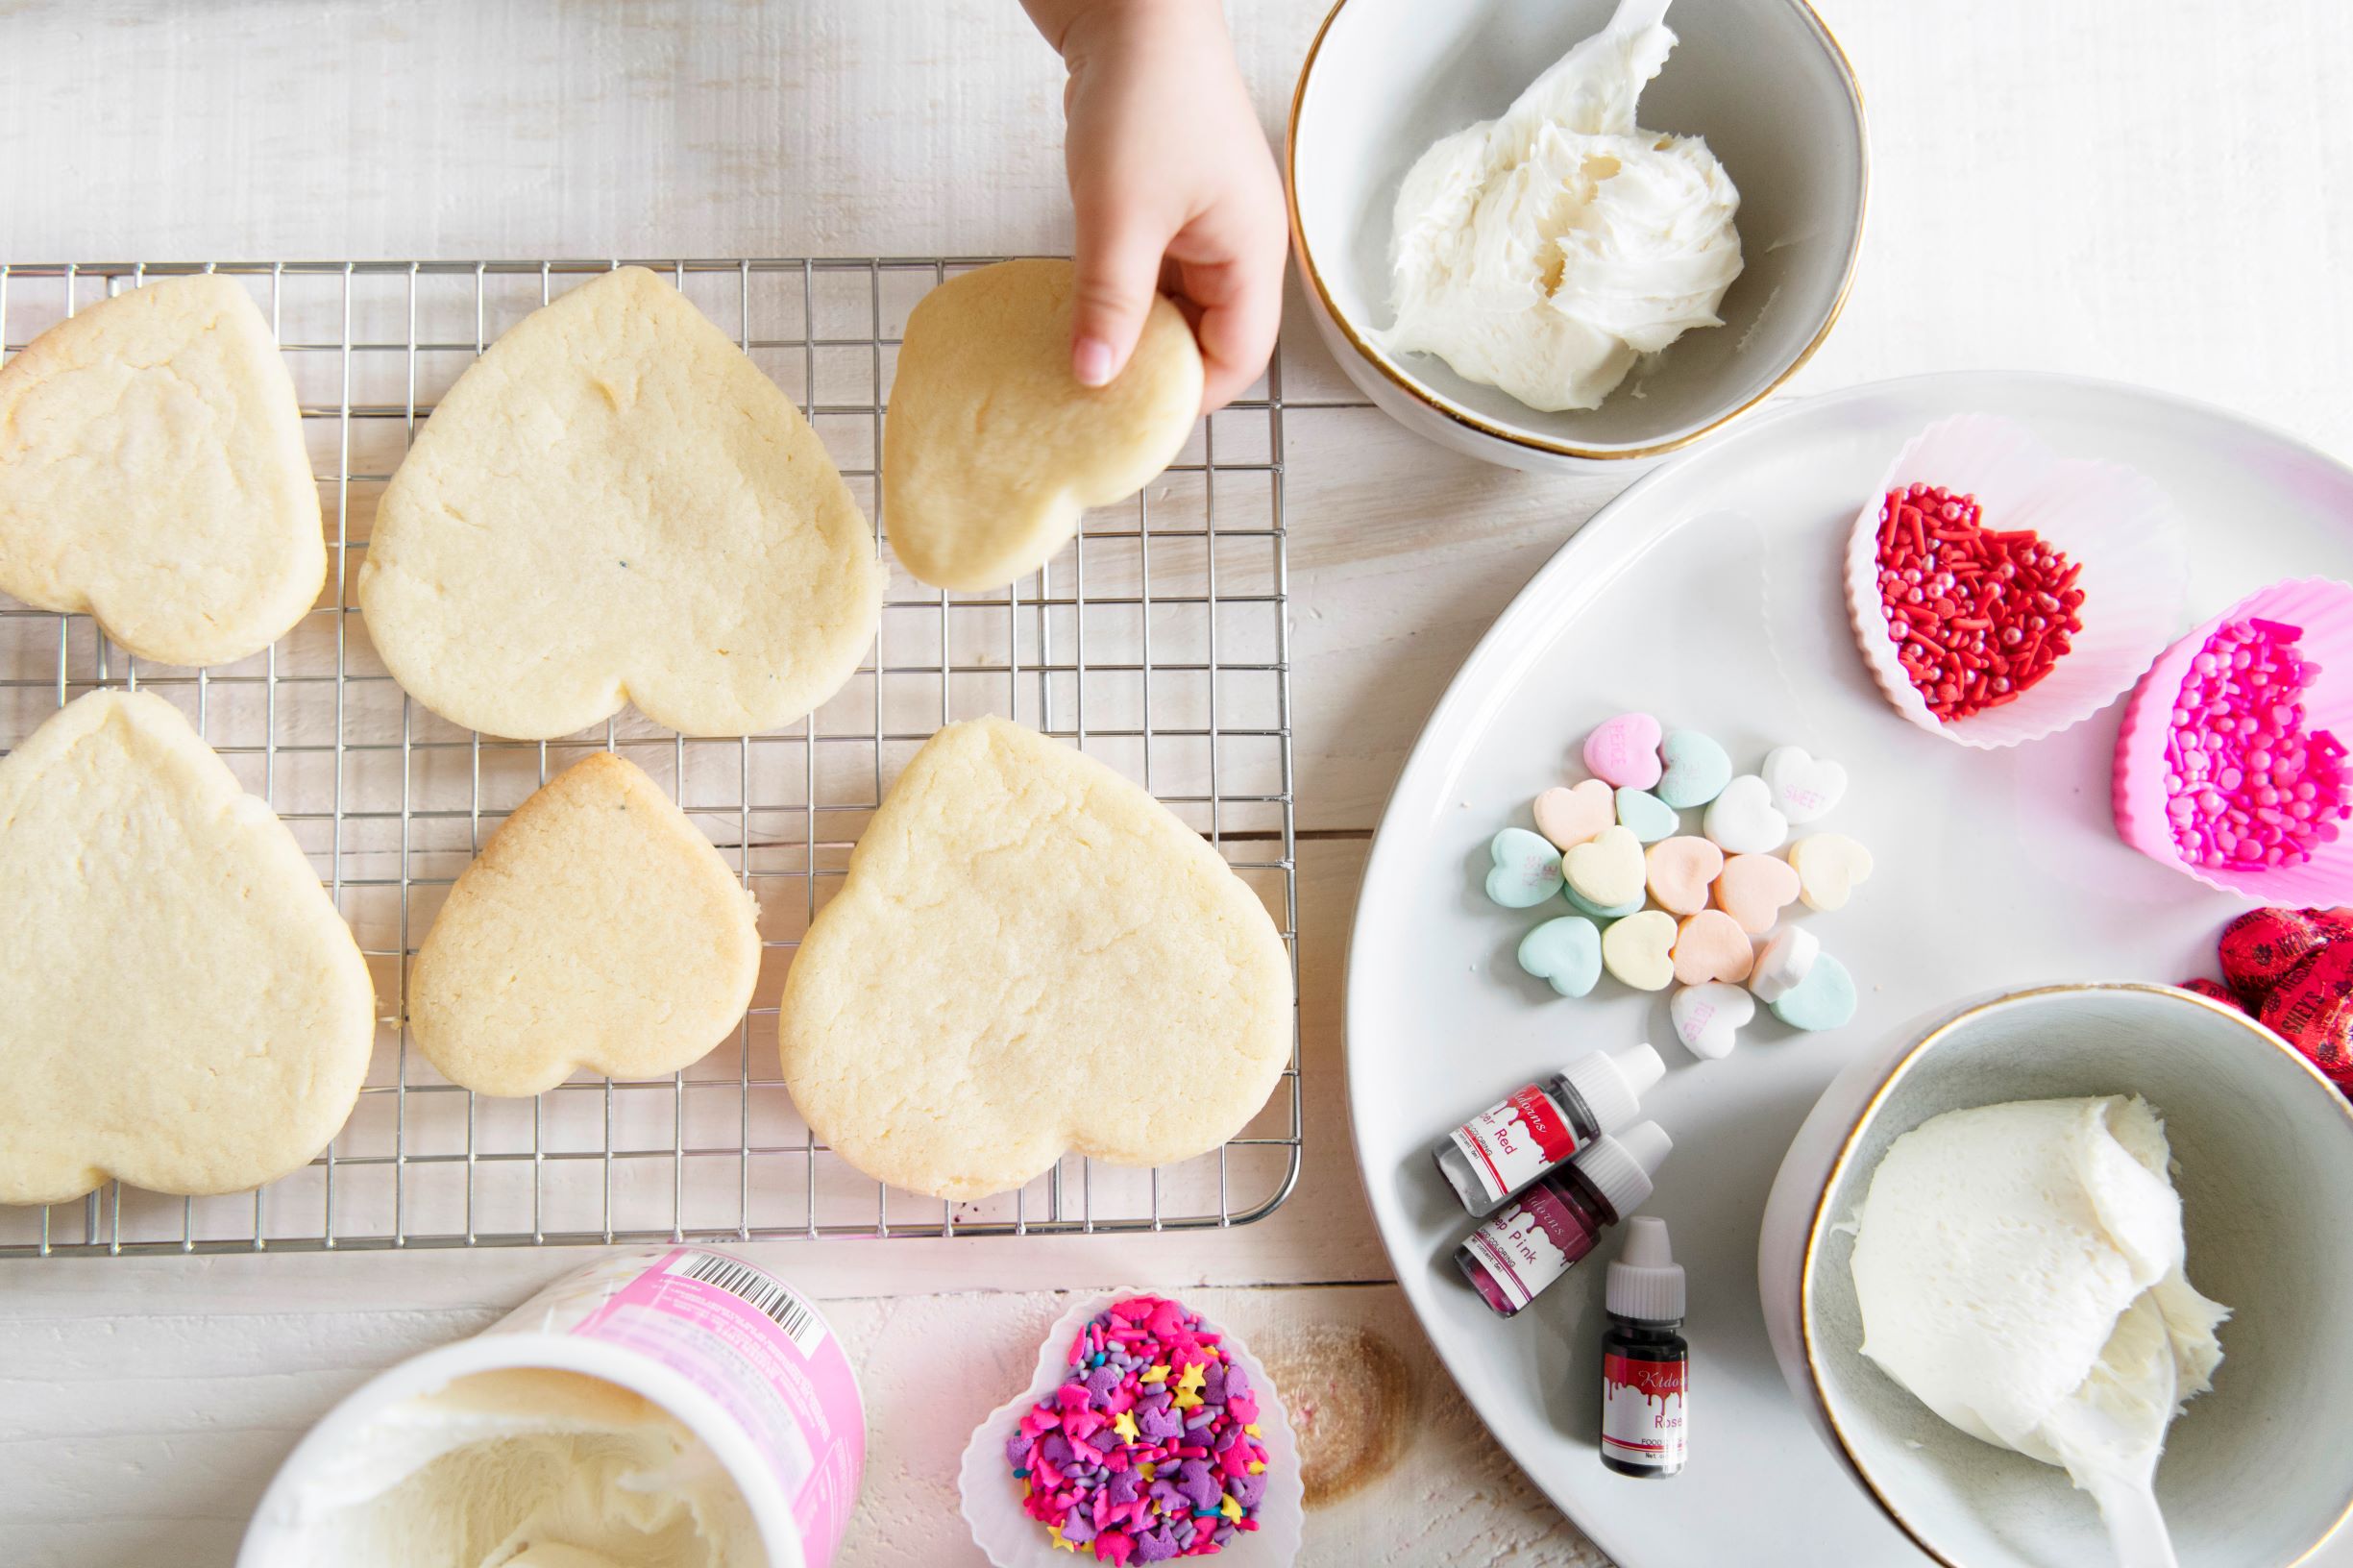
What You’ll Need:
-
- Sugar Cookie Mix
(you do need an egg and a butter stick to make this, and a cookie cutter
)
- White Frosting
- Food Coloring
- Sprinkles
- Any other fun/sweet decorations
- Sugar Cookie Mix
Now, Let’s Make It!
-
- Step 1: Bake heart shaped cookies beforehand.
- Step 2: You and your little one each get one.
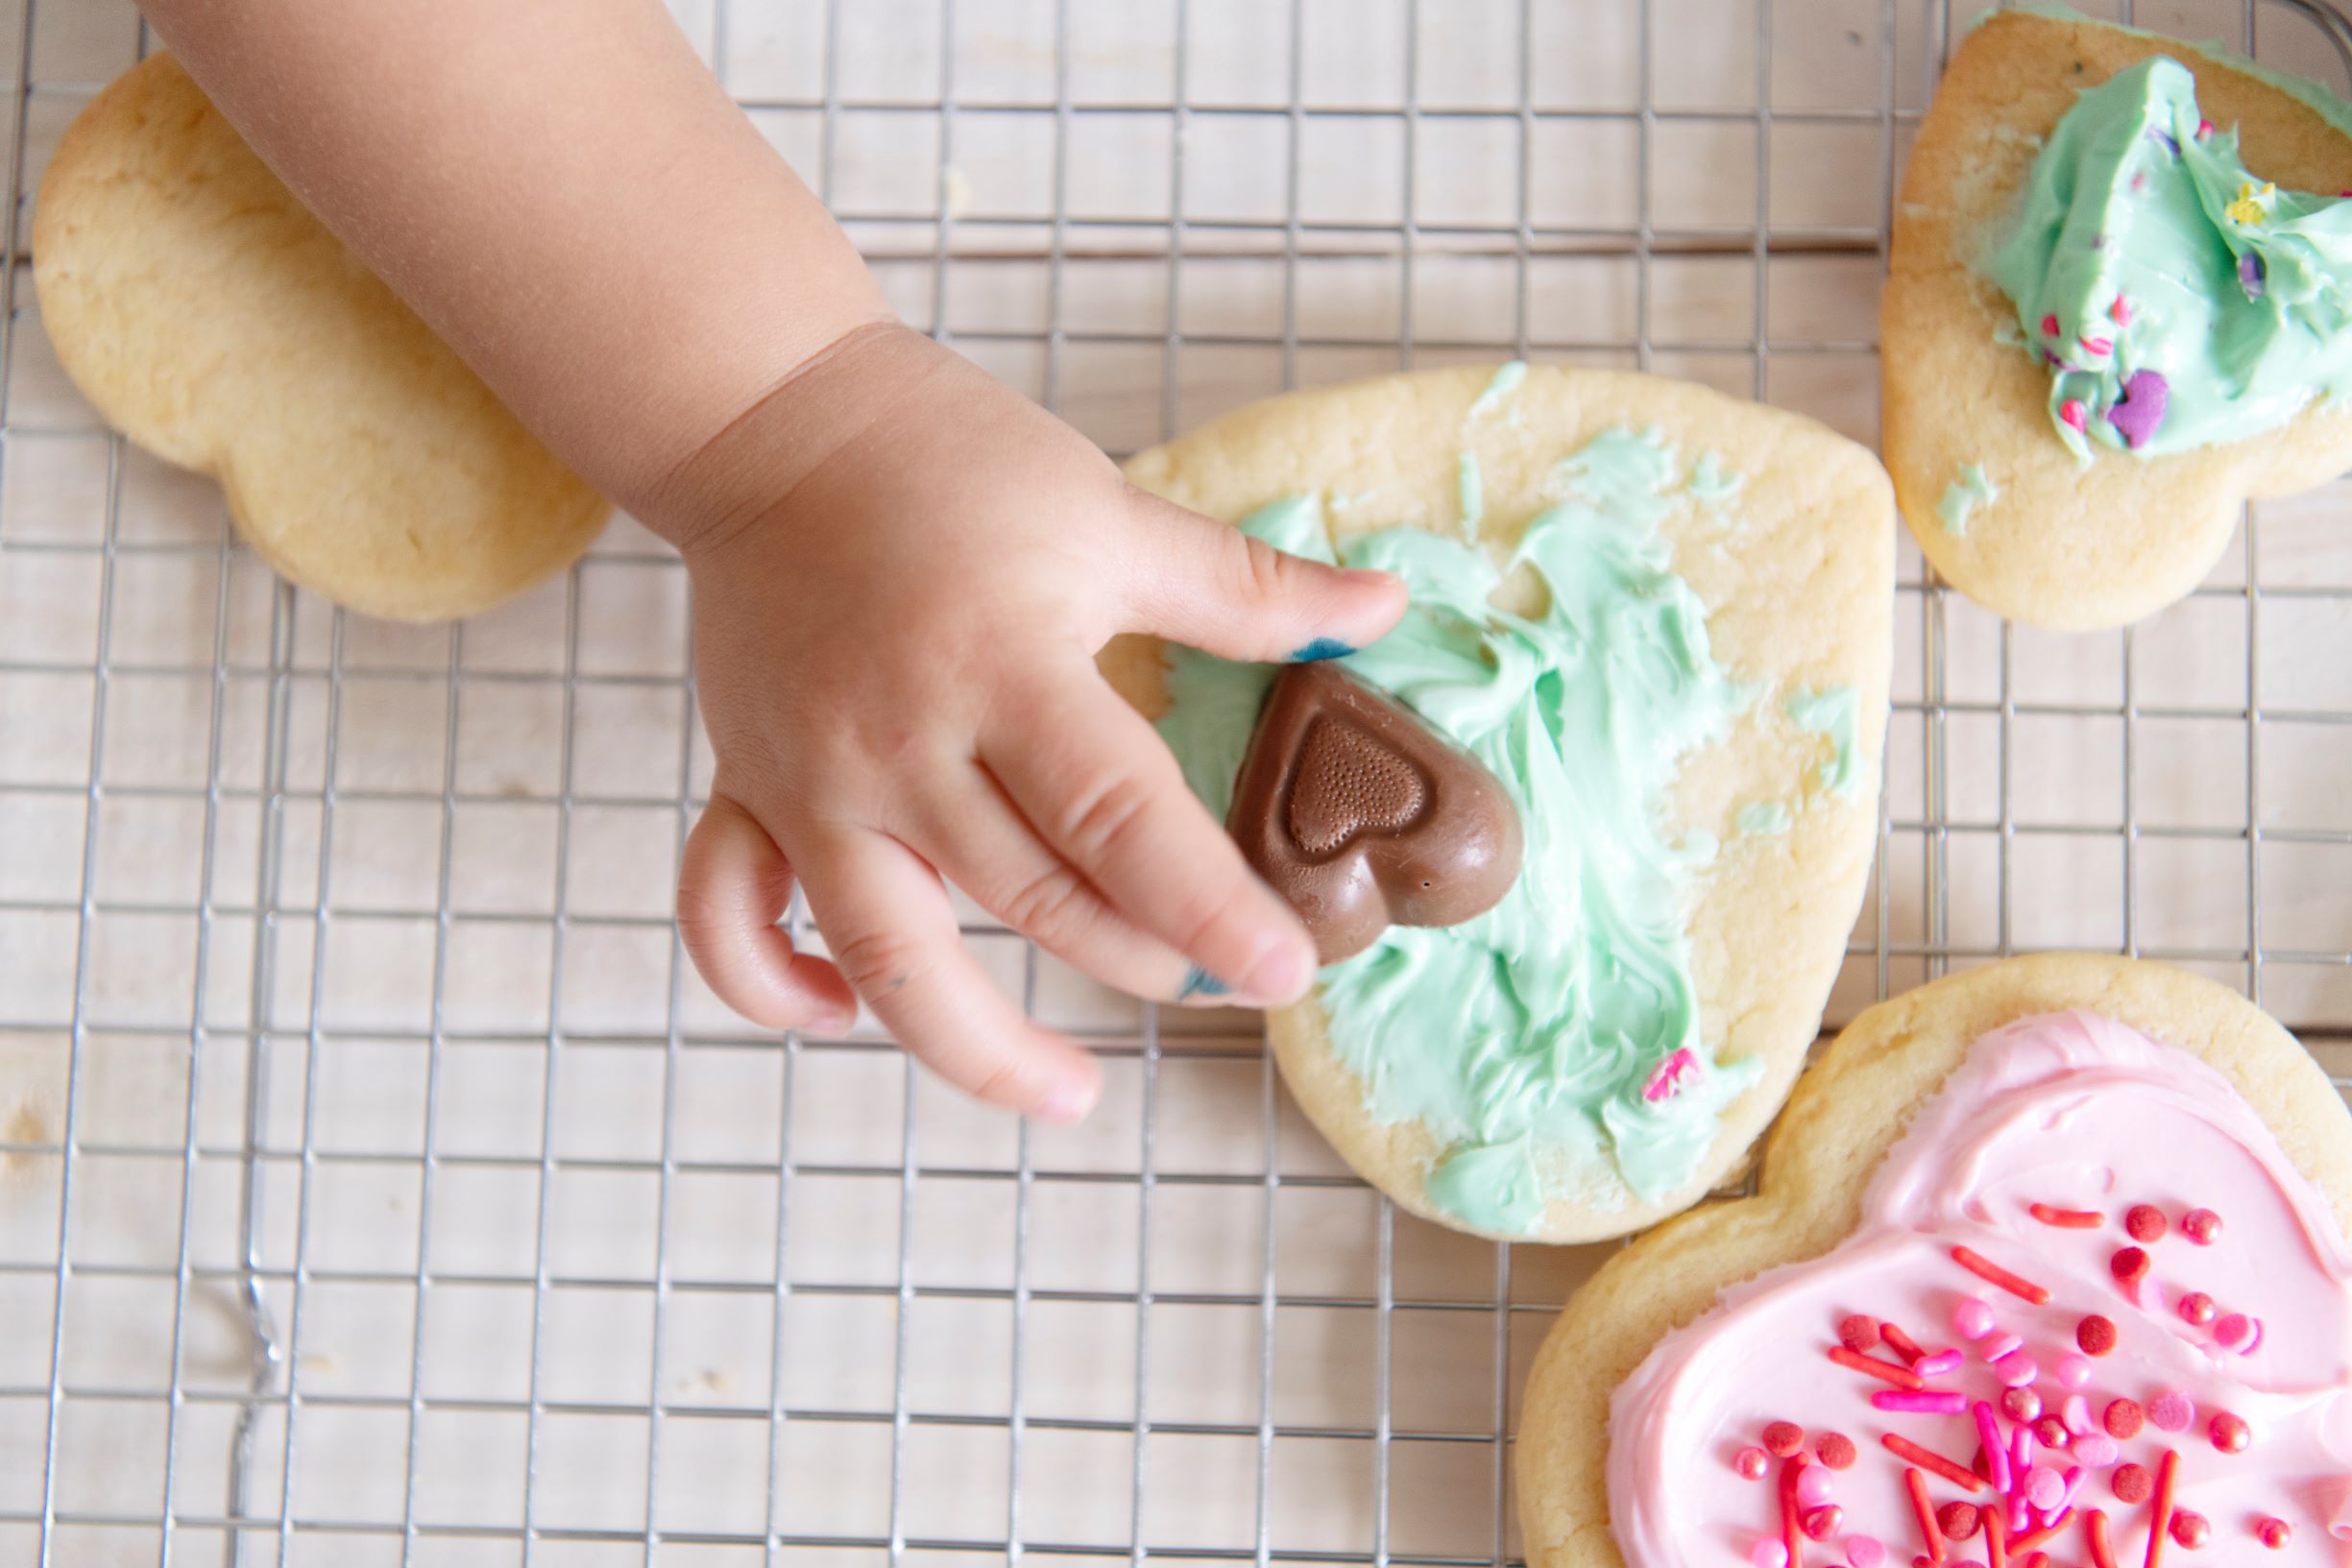
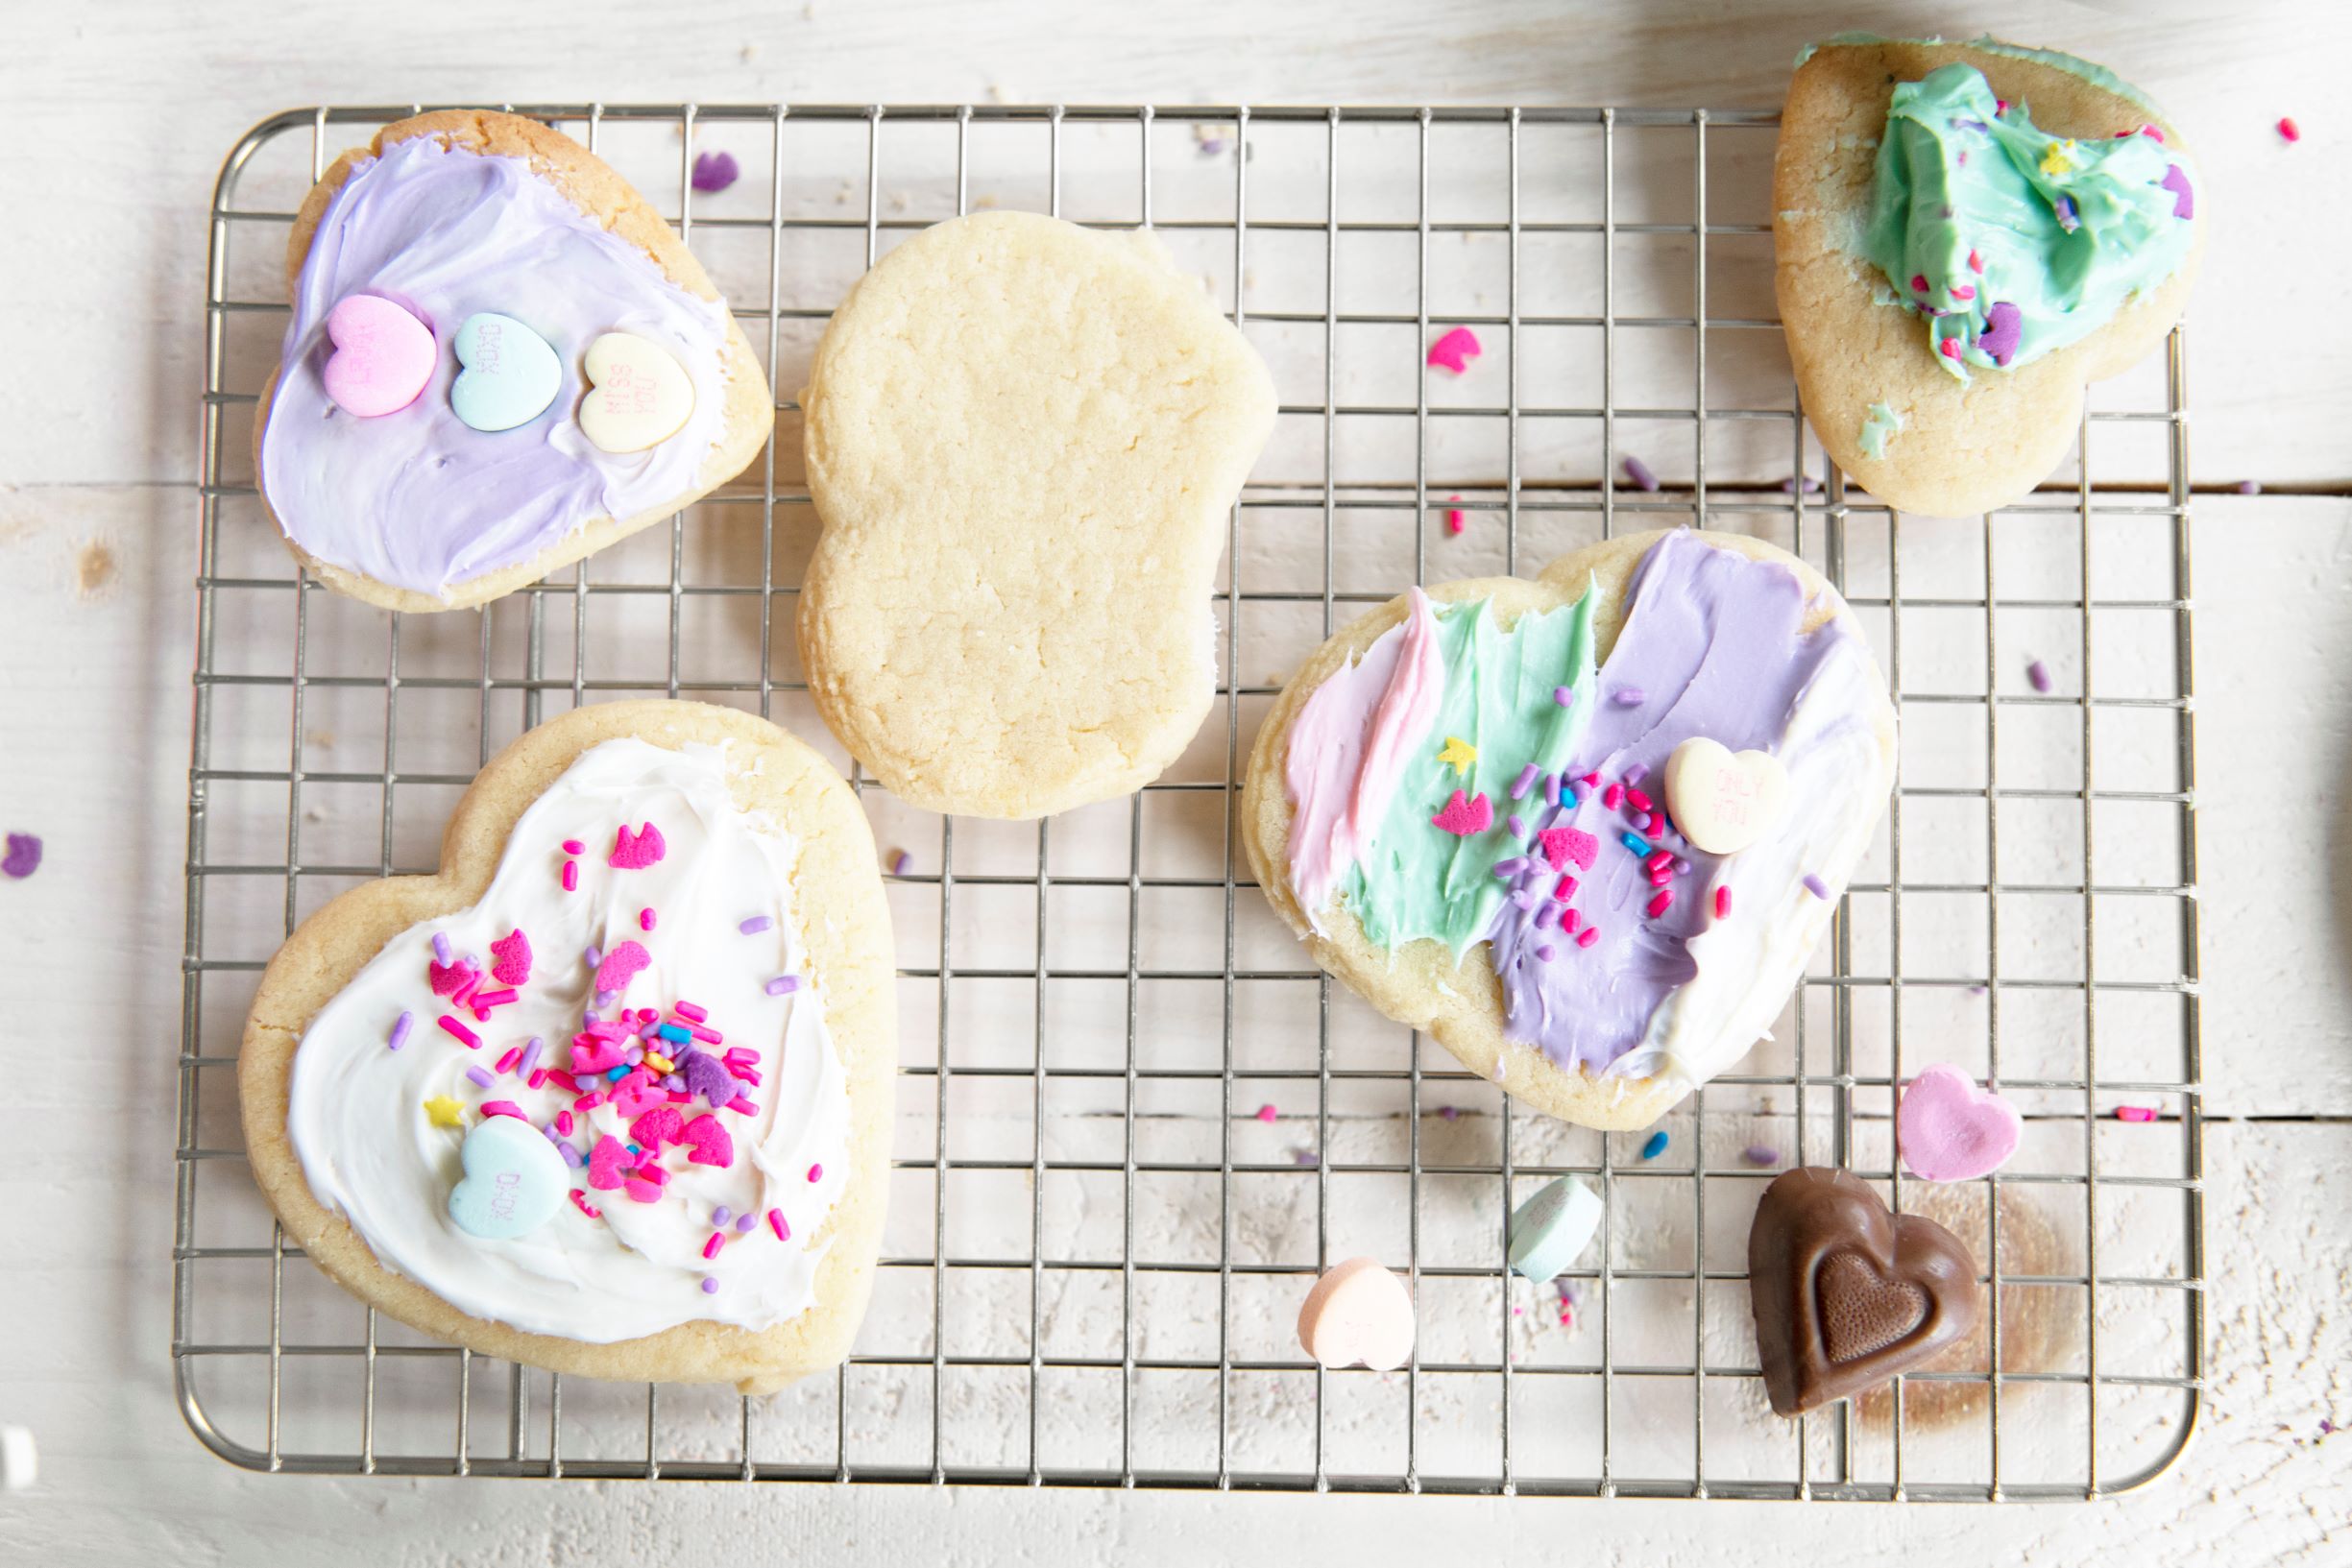
- Step 3: Spread the frosting and sprinkle the sprinkles together. Instead of eating what you decorated, have your child give you theirs and you give yours to them.
Explain that the cookie each of you are decorating is for the other person. While decorating, be sure to express that you are excited to give it to the child and explain why. Explain how you are making this cookie special by adding sprinkles. Then, ask them what they are doing for you and why. This helps them think about others and how to make them happy. At the same time, when they receive their gift, it will be even more special to them because they will know how much thought you put into making it.
For older kids, you can have them measure the ingredients, pre-heat the oven, cut out the cookies, and bake the cookies before you start decorating them to share.
When there is a purpose to each activity, it becomes meaningful. Sharing love through art making is a great way to help develop and engage their social, cognitive, and problem solving skills! Try these with your little ones this month and let me know how you engaged with your little ones 🙂


